SINGLE COLOR GOLF CART LIGHTS
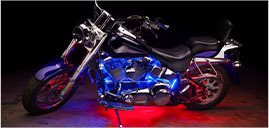
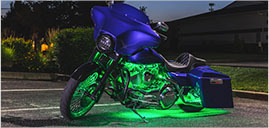
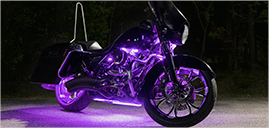
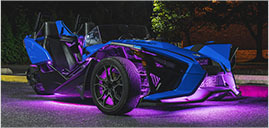
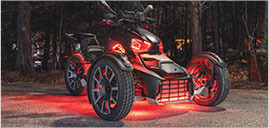
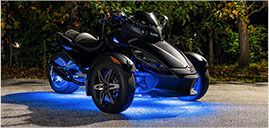
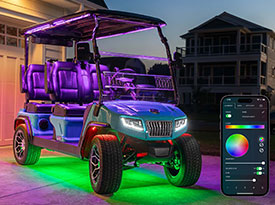
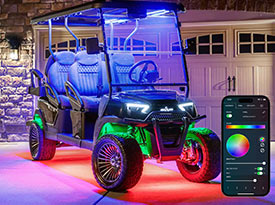
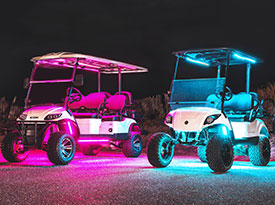
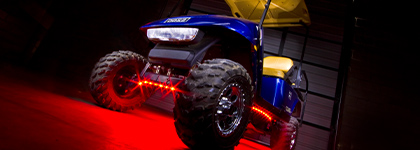
The comprehensive single color illumination of LEDGlow golf cart LED kits is optimal for anyone looking to add dynamic accent lighting to the underbody of their golf cart. With these golf cart LED light strips, you’ll experience defined single colors that fully accentuate the underside of your PTV, courtesy of 80 wide angle LEDs housed in 24 inch flexible tubes. These LED accent lighting kits for golf carts are ideal for anyone seeking the benefits of having a kit installed to their golf car with individual color illumination.
BUILD CUSTOM PATTERNS WITH SINGLE COLOR GOLF CART LED LIGHTS
One of the unique features of our golf cart underglow lights is the ability to create fully customizable lighting patterns. Choose between the single color options Blue, Red, Green, White, Purple and Yellow, plus harder-to-find colors Pink and Orange. Lighting effects include (3) Fade Modes, (3) Strobe Modes and a Sound Activation Mode that reacts to the beat of the music playing inside of your golf car. Build the custom patterns you always dreamed of for your LSV with these golf cart lights.
WHAT’S INCLUDED WITH GOLF CART LED UNDERBODY LIGHTS?
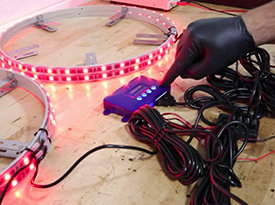
LEDGlow single color golf cart underglow kits come with everything required for installation. In addition to the (4) 24” water-resistant flexible tubes which the base kit is comprised of, you’ll receive a Control Box with a 5 Amp Fuse and a Wireless Remote to activate all of the lighting kit’s features. Installation hardware includes screws and zip ties to secure each lighting tube. Extended wiring lengths provide extra slack for added flexibility when you’re setting up this golf cart LED kit.
HOW DO I INSTALL LEDGLOW GOLF CART UNDERGLOW?
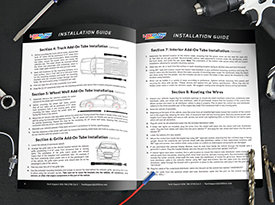
LEDGlow is here to walk you through the installation of our golf cart underglow accent lights with step-by-step instructions that detail the entire process. Begin by verifying voltage with a multimeter before connecting the kit to the golf car. The flexible tubes can be contoured in case the undercarriage is not flat. After installing the tubes, use the self- tapping screws and zip ties to secure them. Then find a dry location to mount the Control Box and connect the red wire from the Controller to a 12 Volt power source.
Which single color golf cart lighting kits are available at LEDGlow?
We have Blue, Red, Green, Orange, Purple, White and Pink golf car LED lights. Combine your favorite color with Fade Modes, Strobe Modes and Sound Activation Mode to build custom lighting patterns for your LSV.
What are the benefits of LEDGlow single color LED lights for golf carts?
Enhance your riding experience by accentuating the look of your golf car with LED lighting. You’ll stand out on the course, at the country club, or anywhere you take your LSV. Also enjoy the double benefit of added safety after sundown courtesy of ultra-bright illumination.
What if I need help installing LEDGlow single color golf cart lights kits?
We always recommend using a licensed professional to install our lighting kits. However, if you plan to install your kit we provide instructions and helpful install videos for select products. You’re also backed by unrivaled Customer Support and Free Lifetime Tech Support.


